

10 Tailoring Tips for Wearing Lightweight Pyjamas Beneath a Structured Blazer
Lightweight pyjamas worn beneath a structured blazer can feel effortlessly elegant one moment and reveal unsightly bunching or sagging the next. Minor fit issues and fabric behaviour often undermine an otherwise polished look, leaving many wondering how to preserve clean lines without compromising comfort.
This guide outlines ten practical tailoring techniques, from assessing fabric drape and refining shoulder-pad placement to aligning collars, adjusting sleeve length and reducing bulk, so pyjamas lie smoothly and remain discreet beneath tailored layers. Use these step-by-step checks and adjustments to achieve a seamless, layered fit that preserves the silhouette, comfort and freedom of movement.

1. How to assess the drape and weight of pyjamas fabric
Start by identifying the fibre and weave. Check the garment label, glide your hand across the surface and watch how the fabric catches the light. Silks, satins, viscose and modal tend to skim and cling, while plain-woven cottons and linens sit stiffer. Perform a simple drape test: hold a corner of the pyjama top at shoulder height and allow the rest to fall. Long, fluid folds suggest the top will pool and interrupt a blazer's clean line, whereas a crisp fall or a quick snap back indicates it will help preserve the jacket shape. Repeat the same test with a trouser leg held vertically to judge how it will meet the blazer hem. Inspect construction details such as linings, interfacings, heavy trims, embroidery, piping or elasticated cuffs, since these can add hidden bulk. Smooth seams and press hems with your hand to reveal their true contribution to volume before deciding on tailoring or alternative layering.
To assess how much a fabric contributes to a look, gently roll a section into a tight tube and slide it under the blazer's arm or along the front to reveal the volume it adds. Materials that compress almost completely will lie smoothly, while those that retain a ridge will show through the blazer's contours. Complete the check with a wear-and-move test: put the pyjamas on beneath the blazer, perform everyday motions such as reaching and sitting, and capture the outfit from several angles to spot where the fabric tucks, pulls or rides up. Those visible cues indicate the precise areas where tailoring, trimming or an alternative layering approach will be required.
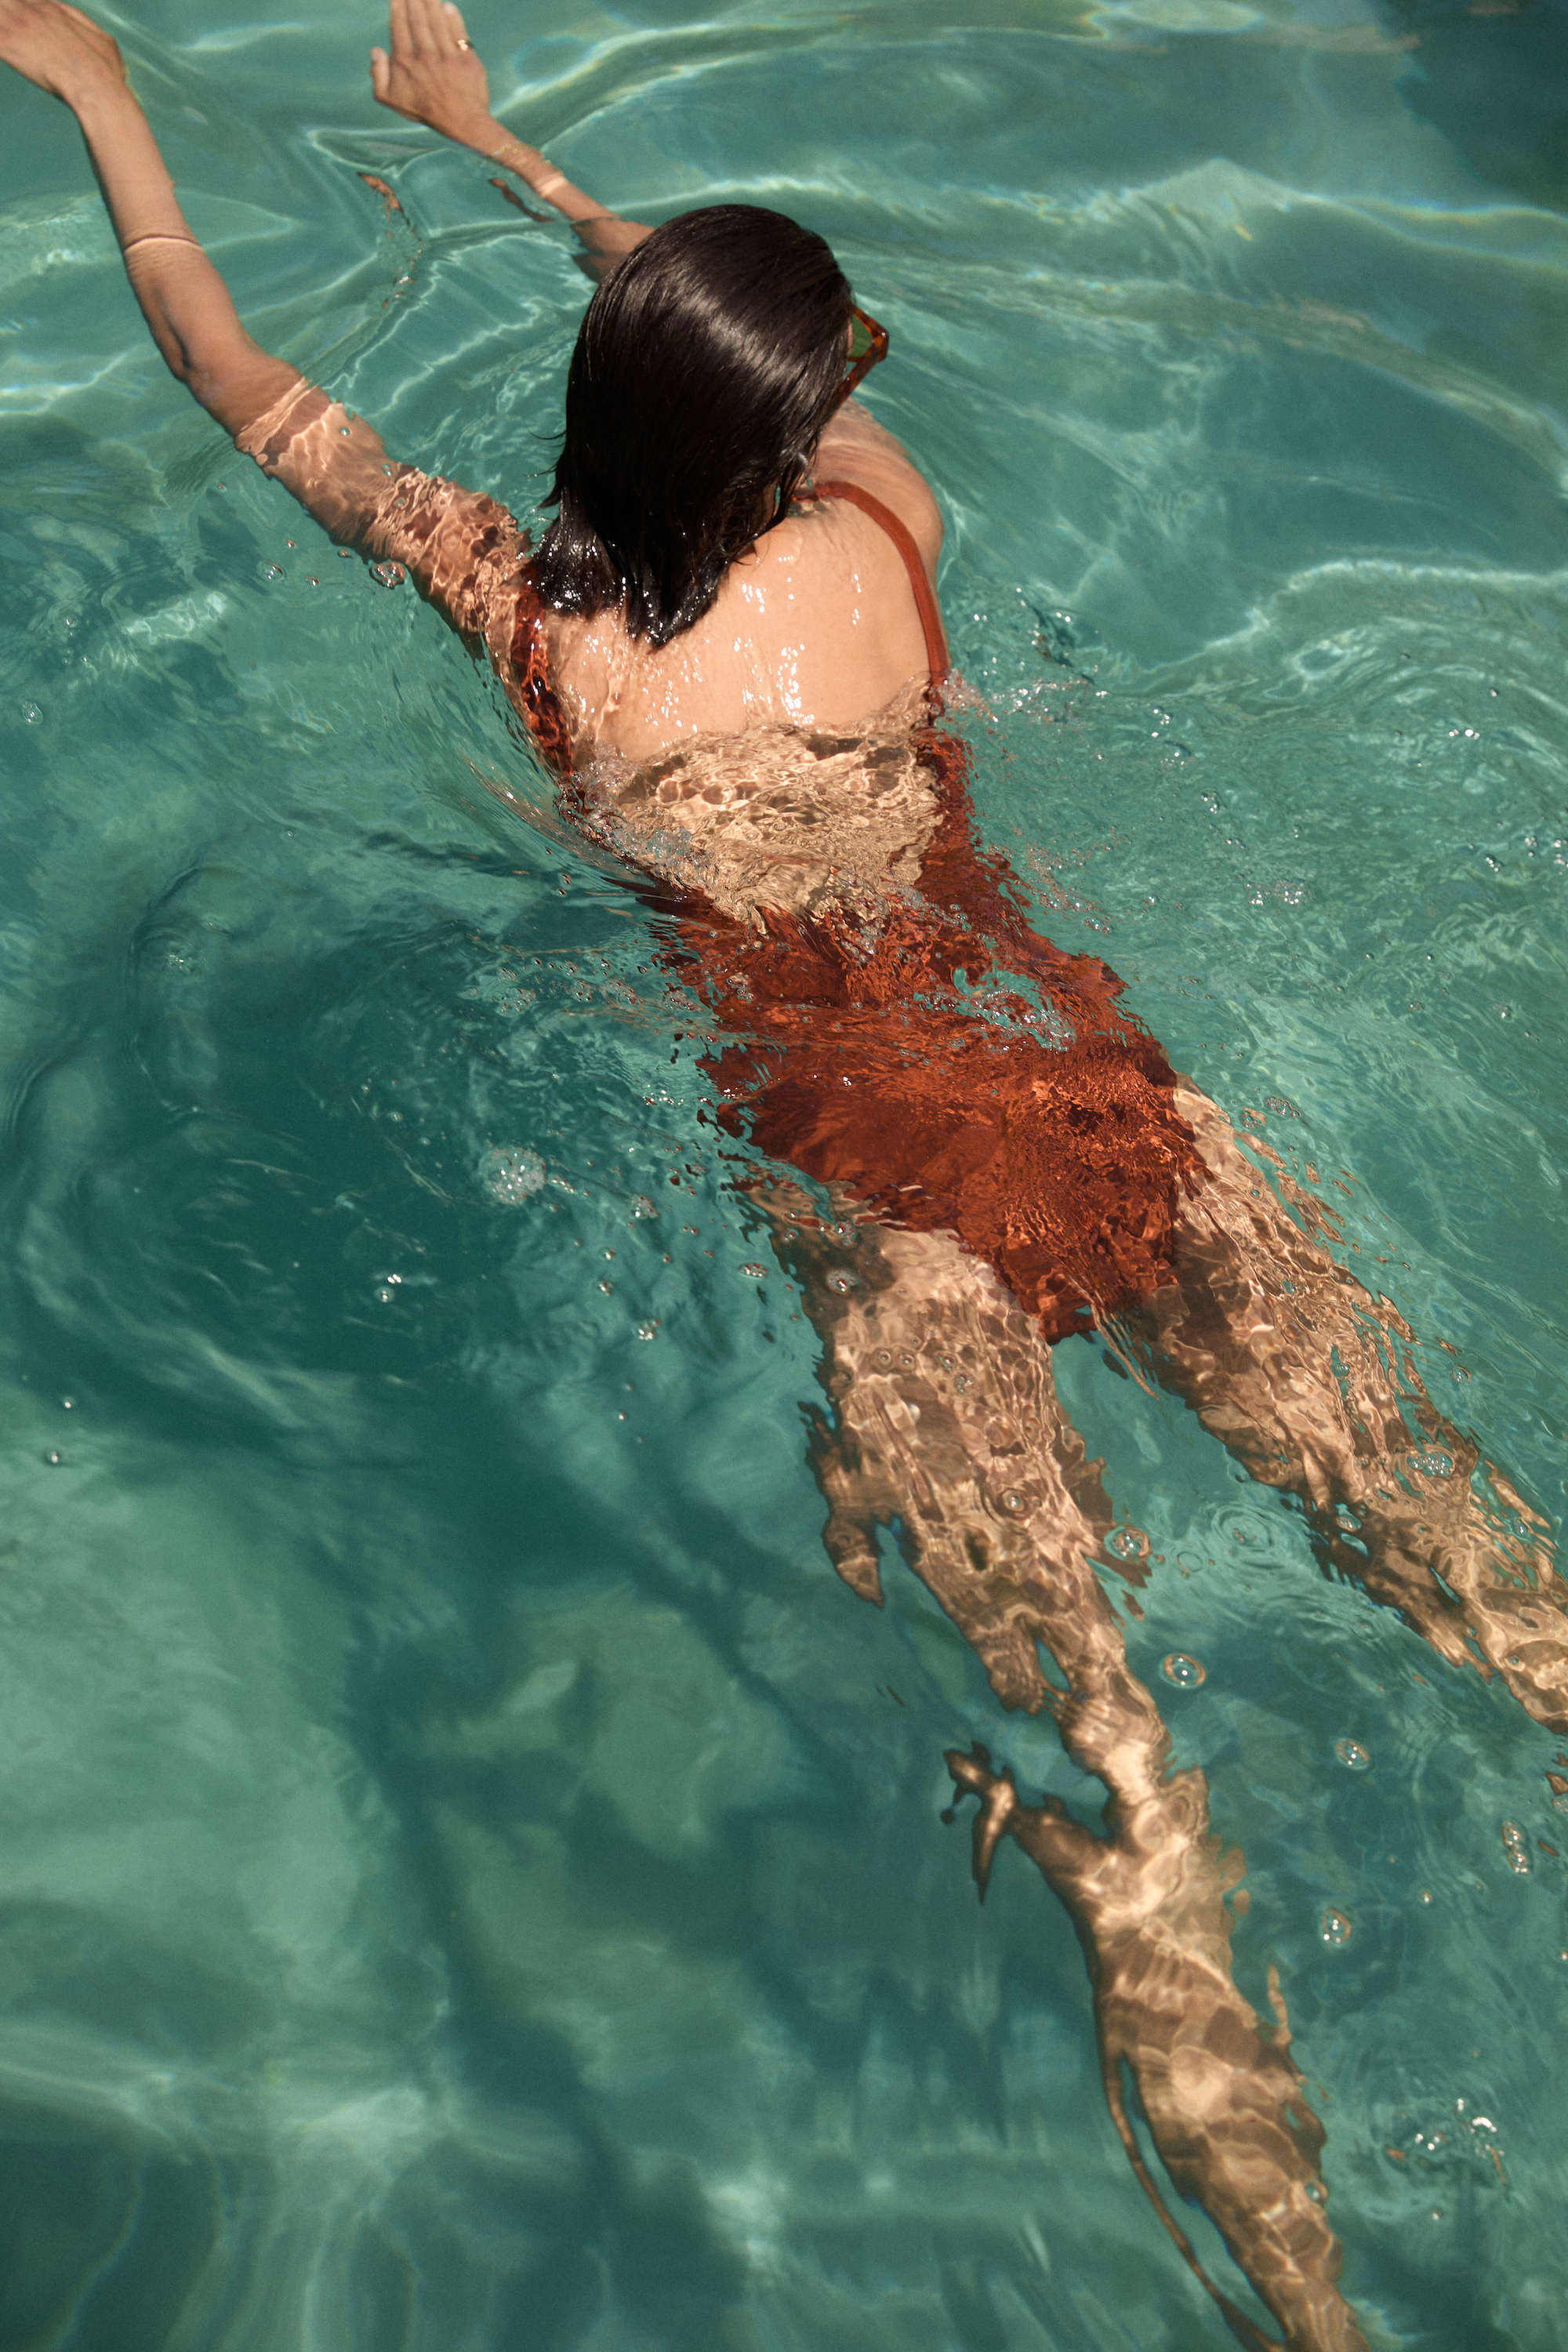
Choose a lightweight linen jacket to keep blazers crisp.

2. Assess blazer structure and silhouette for refined fit and graceful drape
Begin by mapping the blazer's construction: slip a hand inside the lapel and press the shoulder to feel for fused fronts, canvas layers, shoulder pads and the lining. A fused front will feel uniformly stiff and can push lightweight pyjama fabric into ripples, whereas a soft canvas and minimal padding allow the pyjama to drape more naturally. With the pyjama top on, read the silhouette and proportions. Note waist suppression, shoulder slope, lapel width and hem length, and observe where the blazer and pyjama hems meet to judge balance. A boxy, longer jacket can overwhelm a silk pyjama top, while a shorter, tapered jacket will preserve a continuous line. Perform movement tests by fastening the blazer, raising your arms, sitting and walking, then inspect for horizontal or diagonal pull lines across the chest, back and sleeve cap. Horizontal pulling at the bust signals a tight chest, while diagonal pulls from the shoulder to the button point indicate shoulder fit or button-placement issues. Pin any problem areas while wearing both pieces and photograph them from the front and back to document mismatch points clearly for a tailor.
Inspect internal finishes by locating stitch lines, lining vents and canvas channels to assess how invasive any alterations will be. Partially lined garments or those with loose canvas panels allow a tailor to thin areas or remove pads with minimal loss of shape, whereas a fully fused construction will require more complex reconstruction to reduce bulk. Plan targeted solutions from your findings: thin or remove shoulder pads and soften the canvas where shoulders feel bulky; shift button placement or let out side seams when the chest pulls; and taper the sleeve or shorten the pyjama cuff if the sleeve overlaps or bunches at the cuff. Present pinned areas and clear photographs to your tailor so they can make minimal, structure-preserving adjustments.
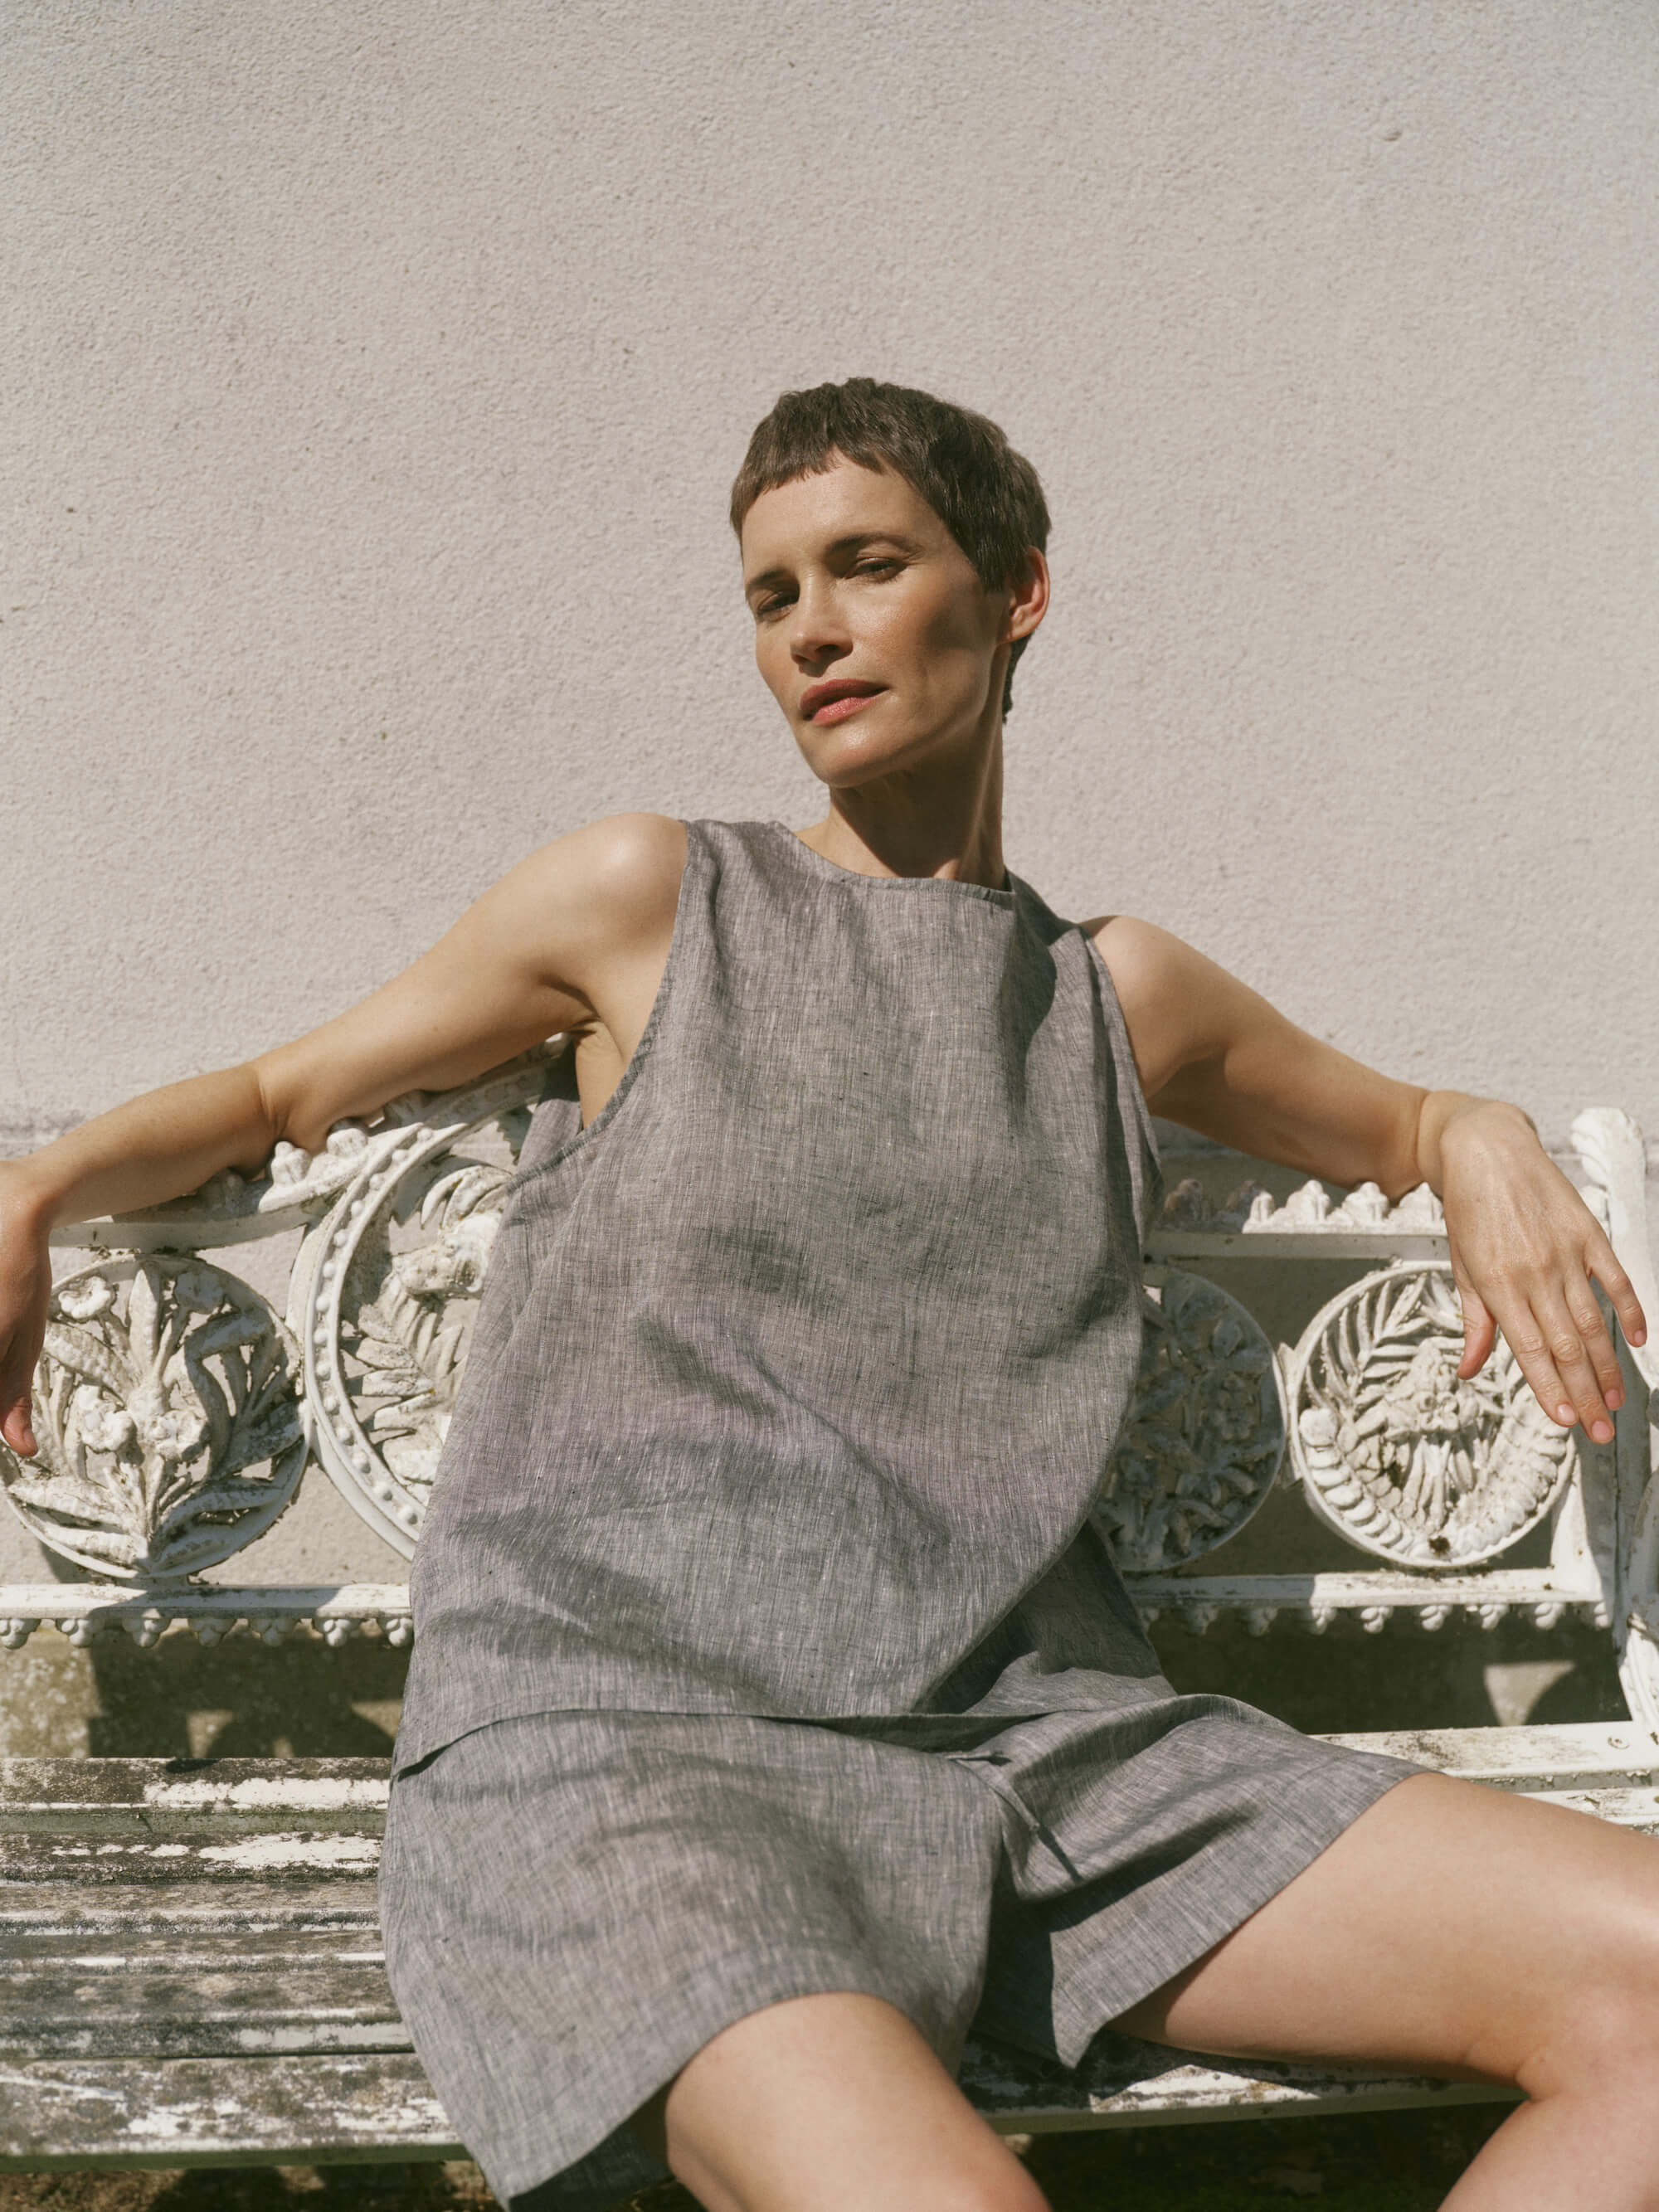
Complete the look with lightweight cotton pyjama trousers.

3. Measure precisely to ensure a graceful layered fit
To capture true layered measurements, wear the pyjamas you intend to pair with the blazer and fasten them as you would when wearing the jacket. Stand in a natural posture while an assistant notes the measurements so you record real, finished dimensions rather than relying on garment tags. Measure the chest at its fullest point with the arms relaxed; across the shoulders from bone to bone; sleeve circumference at the bicep over the pyjama fabric; and the back length from the nape to the hem. Compare each measurement with the blazer pattern or jacket to identify where additional ease is needed. This will reveal the precise pattern adjustments required to preserve the blazer’s silhouette while accommodating the pyjamas.
Allow targeted ease rather than a uniform allowance. For a lightweight pyjama top, allow approximately two to five centimetres extra at the chest and back for movement. If the sleeves are fuller, add one to three centimetres to the sleeve circumference, and keep shoulder allowances minimal to preserve the garment’s structure. Check the dynamic fit by moving through typical actions while wearing the pyjamas and a toile (a muslin mock-up) or the blazer: lift the arms forward, bend to sit, and shrug. Note any pulling across the chest, tightness at the sleeve cap, or shoulder displacement, and mark where seams or darts need adjusting. Account for fabric behaviour and construction details, because slippery silks compress differently from brushed cotton, piping or cuffs add local bulk, and higher button stances require additional forward-chest ease. Record these observations alongside the measurements so tailoring decisions reflect how the pyjamas actually sit beneath a structured blazer.
Fit blazers over lightweight cotton pyjamas for accurate measurements

4. Refine shoulder fit and pad placement for a balanced silhouette
Begin by checking shoulder width: measure from the base of the neck to the shoulder point and compare this with the blazer seam. Pin the seam to the shoulder bone so the blazer rests on the shoulder rather than sitting over it. If the seam extends beyond the shoulder you may notice chest pull and sleeve distortion when layering a pyjama top, so consider reducing or repositioning the shoulder padding. Remove bulky pads or shift them a centimetre forwards or backwards, then rebaste by hand and try the blazer on with the pyjama top to assess the drape before committing to a permanent alteration.
Assess the pad shape as well as its size. Replace square, blocky pads with tapered or rolled forms that follow the shoulder’s natural curve to prevent visible lumps beneath lightweight fabric. Stabilise the shoulder and armhole with stay tape or small felled seams, securing the lining to the outer fabric at key points so the pyjama fabric cannot billow into the sleeve head. With the garment fitted, conduct movement tests: fasten the pyjama top, raise your arms and mimic typical motions, then observe for wrinkles at the sleeve cap, gaping at the collar or forward drag. Adjust pad position, the shoulder seam or the sleeve-head ease until the shoulder line remains smooth during movement, and temporarily tack the alterations to re-evaluate the fit.
Finish the set with matching lightweight cotton bottoms

5. Preserve collar clearance and align lapels neatly over pyjamas
Test collar clearance by buttoning the blazer and sliding a single finger between the back of your neck and the collar. If the pyjama collar peeks above the lapel, unpick the collar band and trim 4 to 6 mm from the stand, or understitch the facing so the collar tucks neatly into the jacket; re-press and re-test. Reduce bulk at the join by grading seam allowances shorter, pressing seams flat, or applying a lightweight fusible interfacing to the collar facing. Small reductions in thickness result in a noticeably cleaner lapel line, and repeated pressing after any minor alteration helps the two fabrics sit together harmoniously.
Anchor the collar for temporary wear with a few small hand-tacks into the blazer lining, or fit tiny snaps beneath the lapel, positioning the fastenings so they remain invisible and can be removed before laundering. Steam and press the pyjama collar and blazer lapel separately, then mould them together over a shoulder roll or pad to set the lapel roll and the collar fall. If alignment still proves uneven, introduce light pad-stitching or hand-basting inside the blazer lapel to encourage a consistent roll, or reduce the blazer collar stand by a few millimetres during tailoring. Make only incremental adjustments and try the jacket with the pyjamas on after each change to avoid over-altering the silhouette.
Pair with lightweight organic cotton pyjamas for fittings

6. Align blazer torso length and waist for a polished fit
Begin by mapping the blazer against the pyjama top: mark the blazer's shoulder seam, natural waist and hem, then measure the pyjama top from shoulder to hem to locate where its waist falls. Ensuring these seams align prevents fabric pooling at the blazer hem and preserves the garment's silhouette. To change the length without altering the shoulder fit, create a small centred tuck, side tucks or a discreet internal hem, and secure these temporarily with a few hand-basting stitches or fashion tape. Move around and sit to confirm the tuck lies flat. For a permanent finish, add darts, take in the side seams or insert an internal waist stay, always pinning and basting while wearing the blazer to fine-tune ease across the chest and when seated.
When pyjama fabric is slick, adapt the blazer lining with a shallow button-and-loop, an extended or reshaped lining, or a narrow strip of slip fabric at friction points so the top glides rather than catches on seams or pockets. Opt for higher-drape pyjama fabrics or a fine underlayer to create a continuous surface; press seams and hems flat, and consider lightweight interfacing at the hem or waist to prevent billowing beneath a structured blazer. Pair internal blazer adjustments with discreet tailoring to the pyjamas to preserve the blazer's nipped silhouette, and always test changes by sitting and moving to ensure the top lies smoothly without distorting the blazer's shape.
Switch to lightweight cotton bottoms for smoother layering.

7. Master the rise, hem and cuff movement of trousers
Fine-tune the trouser rise so the waistband rests where the blazer naturally fastens. Pin adjustments in place and test them by standing, walking and sitting while wearing the blazer and shoes. Aim for a minimal break so the leg just skims the top of the shoe or sits clear of the blazer hem; mark the length with the full outfit on and check movement to ensure the hem does not ride up. These steps reduce pooling at the hips and prevent the trouser leg folding under itself as you move.
Refine visible turn-ups to preserve the blazer's clean lines. Remove or narrow turn-ups and replace wide cuffs with a narrow blind hem or an internal hem allowance to remove bulk at the front opening. Grade the allowance so the hem can be lengthened later without adding thickness. Introduce discreet movement controls, such as a narrow stay tape inside the side seams, small bar tacks at the back hem, or a short centre back stay, to prevent lateral flare and cuff twisting while allowing a natural stride. Soften seat and thigh volume with shallow darts or a gentle taper from knee to ankle to avoid fabric bunching beneath a structured blazer. Finally, validate the finished silhouette by walking, sitting and raising the arms to check for pulling, drag or restriction.
Opt for wool-cashmere trousers to preserve clean, tailored lines

8. Ensure sleeve length and cuff overlap create balanced proportions
Shorten the sleeve of the pyjamas so that about 5 to 10 mm of fabric peeks beyond the blazer cuff. That narrow sliver reads as intentional layering; a larger protrusion adds bulk and breaks the blazer’s clean line. Trim the seam allowances and narrow the cuff before hemming, then understitch and press the seam allowance towards the cuff so the fabric lies flat beneath the blazer, minimising ripple when you bend your arm. If the fabric is very floppy, apply a very light strip of fusible interfacing or sew a few stay stitches into the cuff by hand to keep an even edge without stiffening the sleeve.
Secure the pyjama cuff to the blazer lining with two small hand stitches, or add an unobtrusive snap at the sleeve vent to prevent the cuff riding up and appearing uneven in motion. These subtle adjustments keep the layers stable while preserving the sleeve's drape and allowing natural movement. Consider the blazer's shape when balancing cuff visibility: reduce the cuff width for a deep, boxy sleeve, and keep the cuff narrow and neatly finished for a slim sleeve so it echoes the blazer's line. Measured cuff exposure, tailored construction and discreet anchoring together preserve a clean blazer silhouette while letting the pyjama fabric sit smoothly beneath.
Finish the styling with lightweight cotton sleepwear.

9. Minimise bulk with strategic seams, darts and tucks
With the blazer on, identify where the pyjamas tent, fold or create bulk and mark those points. Remove the blazer and translate the marks into narrow darts or stitched tucks; baste them and try the blazer on again to assess the fit. Convert excess side or back fullness into shallow stitched-down tucks of around 5 to 10 millimetre, or add small vertical or shaped darts at the bust or shoulder blade, positioning them within existing seam lines so the silhouette remains uninterrupted. Use a lightweight thread and short stitch lengths, secure the final shaping and press carefully so the pyjama fabric lies flat beneath the blazer shoulder and lapel.
Trim and grade seam allowances where layers stack, using narrower allowances for very lightweight fabrics. Clip or notch curved seams to reduce bunching at intersections such as the shoulder and side seam. Press seams open or toward the least visible side, and use stay-stitching with controlled pressing to stabilise edges that tend to ripple, for example shoulder seams and armholes. Grade seam intersections where several seams meet to taper bulk, and set seams over a seam roll or tailor's ham to maintain a smooth drape beneath structured layers. These small thickness reductions and finishing techniques prevent lumps, preserve ease of movement, and produce a lower-profile join under a structured blazer.
Choose lightweight cotton pyjamas for a smoother, low-profile layer

10. Complete the final alterations checklist and run a wear test
With the blazer fastened, begin a careful alterations checklist: examine shoulder seam alignment, confirm sleeve length, assess armhole clearance, check closure tension and lapel roll, observe how the back vent lies, and review the pyjama top hemline. Mark any gaping, pulling or visible edges for attention. Conduct a staged wear test that reproduces natural movement: raise and lower your arms, reach forward, sit and stand, cross your arms and twist at the waist. Note where fabric tugs, the pyjama top untucks or the blazer wrinkles so you can prioritise seams to take in or where to add discreet anchors. Photograph front, three-quarter and back views both at rest and after movement, then compare the images on-screen to reveal small bulges, collar misalignments or hem exposure that a mirror can miss. Use these photographs to guide pinning and basting, checking changes after each adjustment before committing to permanent stitches.
Test temporary adjustments first. Baste the pyjamas to the blazer at the shoulder points or side seams, add a few small tacks to the lining, or simulate a dart with pins, then measure the pinned changes carefully. Transfer those measurements to the final alteration only once you are satisfied with both comfort and appearance. Repeat the wear test after laundering and steaming the pyjamas as you would normally, and try the complete outfit with your usual undergarments, a belt and your typical bag or coat to confirm the silhouette and drape hold up in everyday situations.
Careful, targeted tailoring and practical wear tests ensure lightweight pyjamas sit unobtrusively beneath a structured blazer, turning cling and bulk into a smooth, intentional layer. By assessing fabric drape, refining shoulder pad placement, aligning collars, trimming cuffs and grading seam allowances, these adjustments redistribute volume while preserving the silhouette and freedom of movement.
Work through the guide's step-by-step checks, pinning and photographing any problem areas. Test temporary tacks or narrow darts until the blazer resumes a clean line as you move. These measured adjustments preserve the blazer's silhouette without compromising comfort, allowing each alteration to be treated as a considered experiment that delivers a seamless finish.


Leave a comment
This site is protected by hCaptcha and the hCaptcha Privacy Policy and Terms of Service apply.