
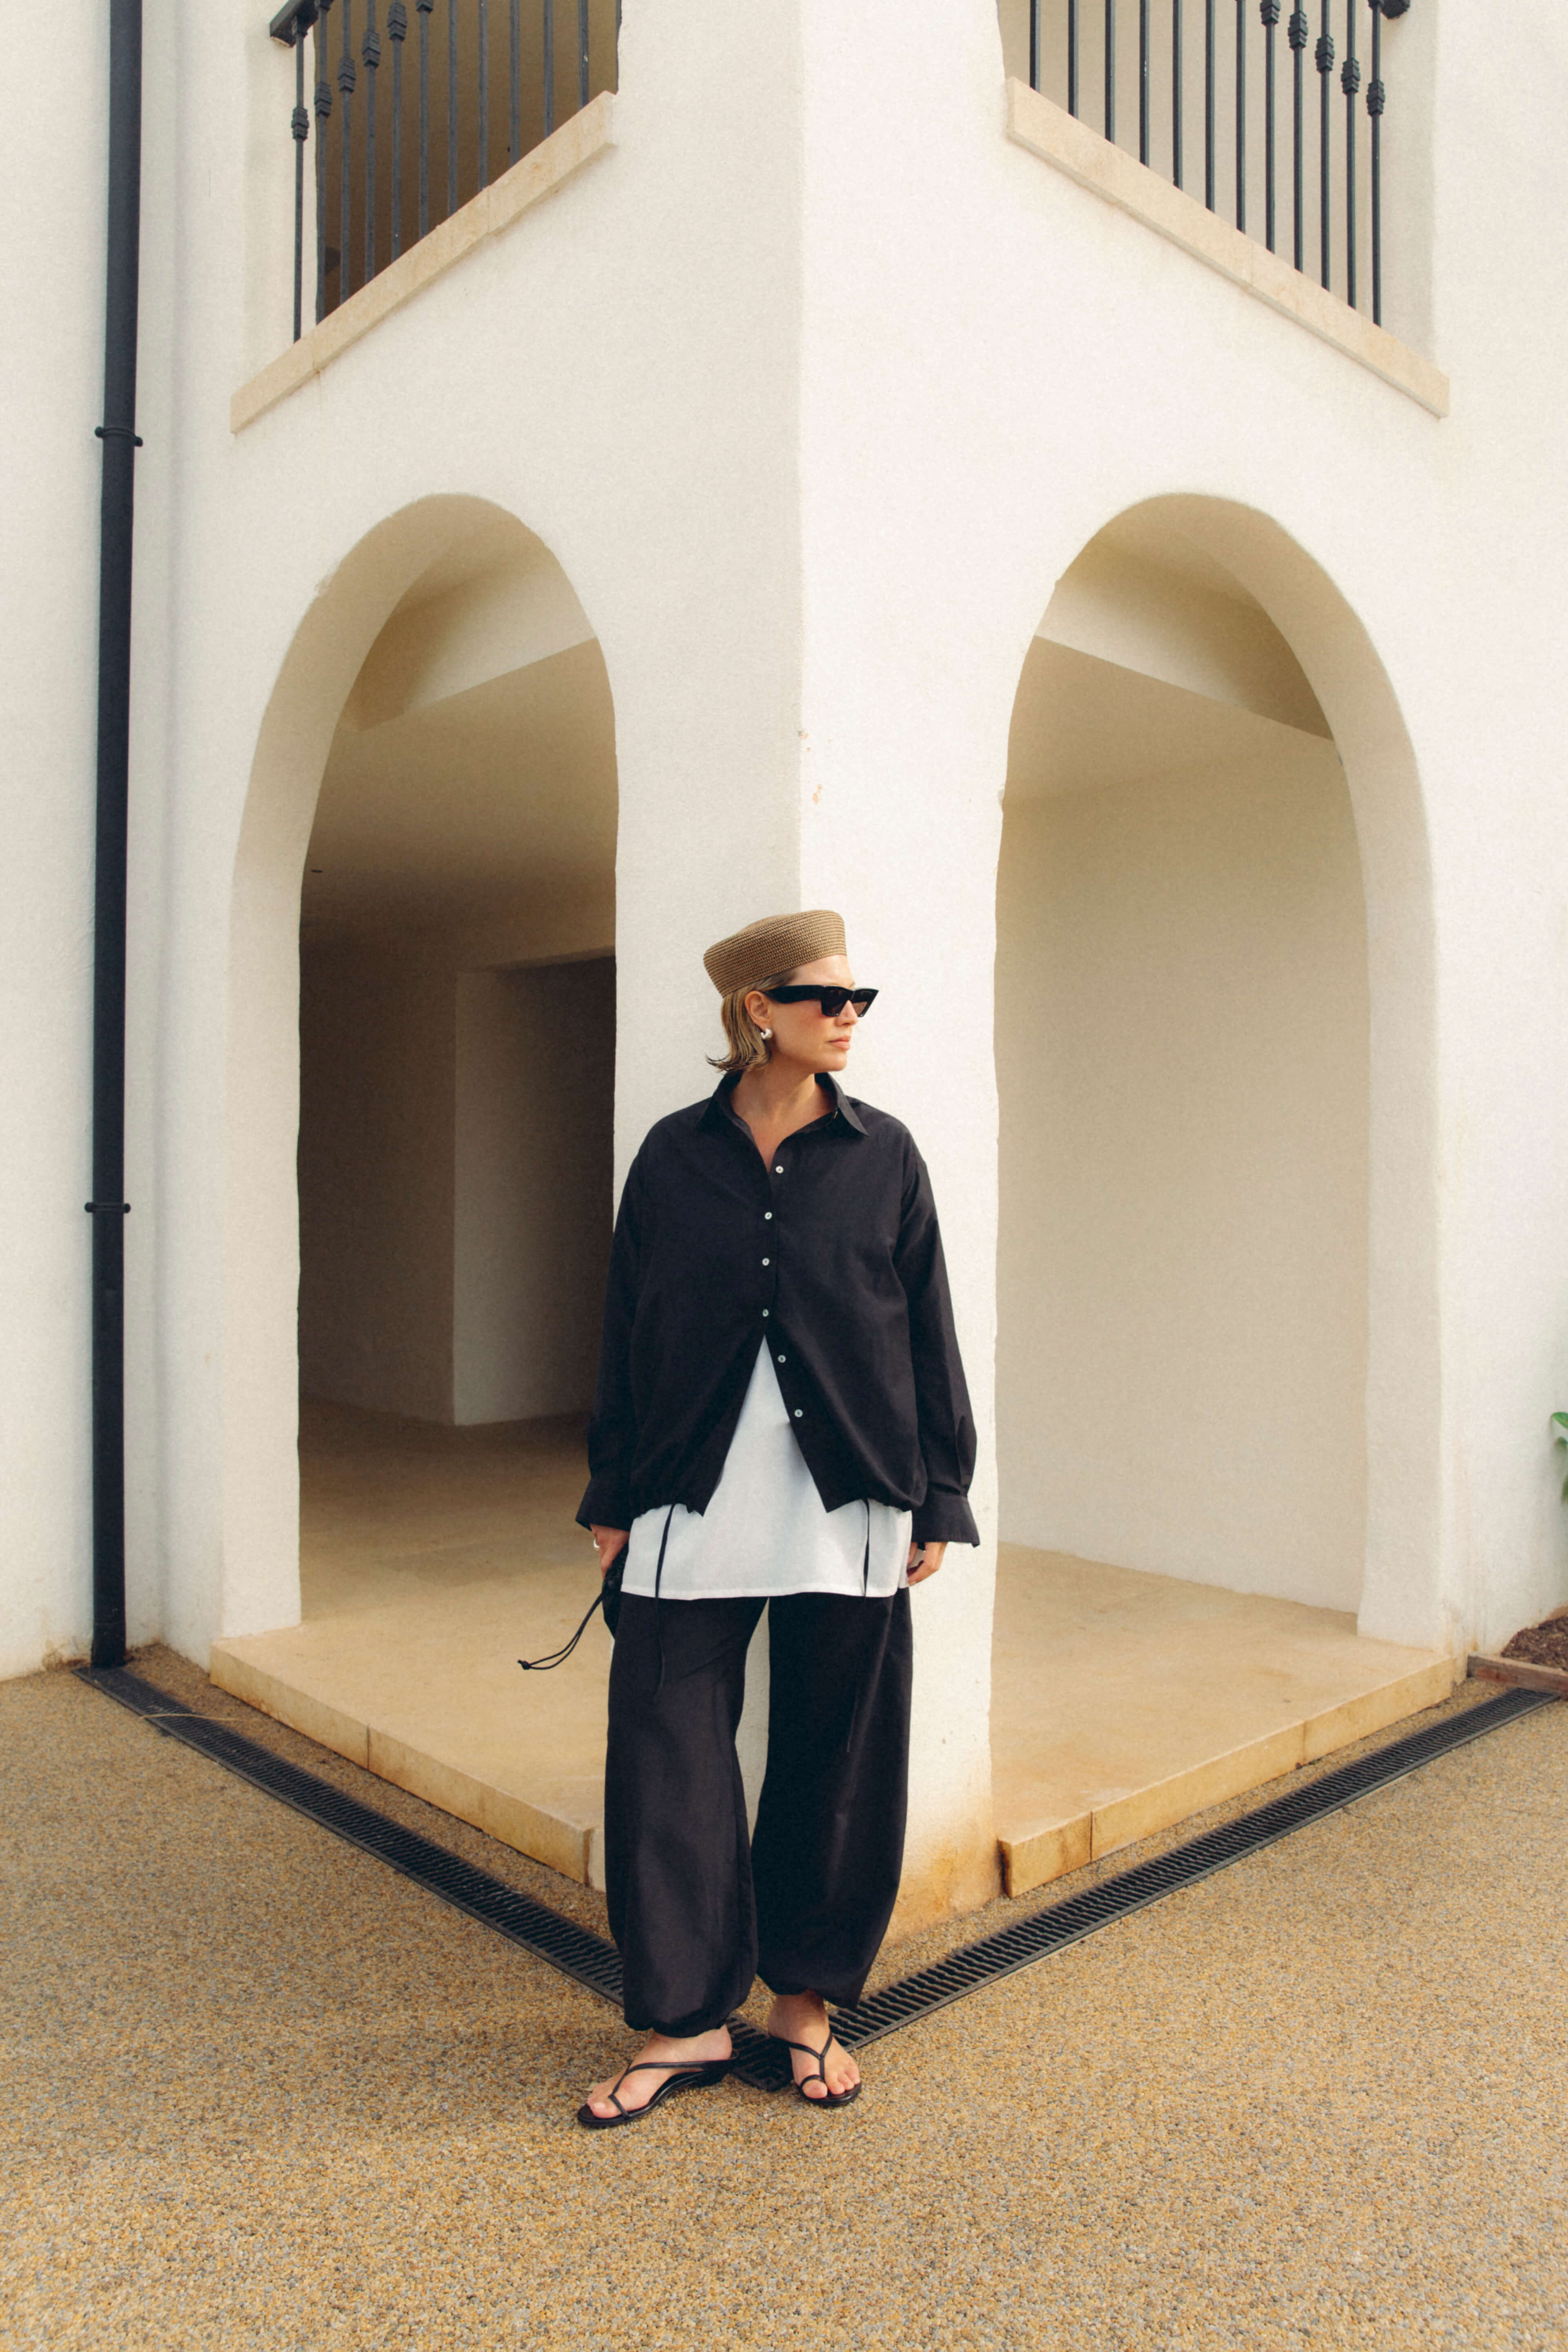
How Can You Adjust Tucks, Knots, and Belts to Flatter Your Silhouette?
If your pyjamas feel shapeless or obscure your proportions, small adjustments can make a noticeable difference. Try gentle tucks at the waist, a soft knot at the hem, or a lightweight belt to create definition and balance, transforming sleepwear into an intentional, versatile piece.
Begin by assessing your proportions to identify the silhouettes that flatter you. Choose pyjamas for their fabric, cut, and drape: silk skims the body, while linen and cotton provide more structure. Practise partial, side, and front tucks, and use knots or belts to define the waist. Refine the overall look by balancing proportions, layering thoughtfully, allowing for natural movement, and attending to proper care.

Mapping Your Body Proportions: A Simple Guide to Accurate Measurements
Begin by mapping your proportions. Stand relaxed and place your thumbs where the ribcage meets the torso to find the high waist. Use your fingers to locate the narrowest point, the natural waist, and note the fullest part of the hips. Measure or photograph your torso-to-leg ratio to decide whether you want to visually lengthen or shorten the leg line. Use tucks to sculpt the silhouette. A front tuck can lengthen the leg line on shorter-legged frames. A half, or French, tuck creates the impression of a defined waist without adding bulk on apple and rectangle shapes. Side or diagonal tucks introduce the suggestion of curve on straighter hips. A full tuck with gentle blousing reinforces an hourglass proportion. Try each technique in the same outfit and photograph from three angles to compare the effects.
Choose belt width and placement to flatter your proportions. Narrow belts work best on petite frames; wider belts balance broader torsos. Position a belt at the natural waist to emphasise curves, place it slightly above for an empire line that visually lengthens the legs, or wear it low on the hips to elongate the torso. Use knots and closures to redirect the eye. A central knot creates a balanced focal point, while a side knot produces a diagonal that draws attention away from wider hips or shoulders. Match knot size to fabric weight: small, neat knots suit lightweight drapes, larger, flatter knots suit thicker cloth. When layering, tuck knots beneath an outer layer or use a wrap to avoid visible bulk and preserve smooth lines. With structured fabrics, opt for shallower tucks and wider belts to prevent added volume. To emphasise verticality, keep tucks and knots off centre and avoid excessive horizontal breaks. Photograph your silhouette against a plain background to check how each choice reads in real life.
Adjustable hems let you tailor leg length instantly.

How to Choose Pyjamas: Fabric, Cut, and Drape for Effortless Comfort
Judge fabric by touch: pinch it or let it fall from your fingers to see how it forms a knot. Viscose, silk and lightweight jersey will drape into soft, low-profile knots, whereas cotton poplin, linen and heavier sateen produce more pronounced tucks. For supple fabrics, favour rounded, forgiving knots that sit flat; with stiffer cloth, embrace chunkier tucks or pleats as a deliberate design detail. To minimise bulk, select knot styles such as a flat half knot or a low side knot that can be smoothed under a belt. Finally, match belt width and material to the body’s scale: narrow, soft fabric ties or thin leather subtly define smaller frames, while wider, structured belts balance fuller midsections and help distribute gathered fabric evenly.
Small adjustments to cut and waist placement will alter proportions and refine the silhouette. Belt at the natural waist to create definition on rectangular shapes, place a belt under the bust to skim the hips on pear shapes, wear a low hip belt to lengthen a short torso, or pair a cropped top with high-rise bottoms to visually extend the legs on petite frames. Use simple tuck techniques suited to pyjamas. Try a French tuck: tuck one side of a loose shirt into high-rise bottoms to suggest a waist without adding bulk. Roll and tie the hem into a low hip knot, then smooth the knot with your hand to avoid visible bumping. Alternatively, thread a soft belt through a shirt hem to distribute fabric and prevent a single bulky bunch. Pay attention to structural details as well. Vertical seams and bias-cut pyjama trousers lengthen the leg line. Single pleats release at the hip without widening the midriff. Princess seams or darts let you tuck neatly into a belt for a tailored silhouette, without excess fabric at the waist.
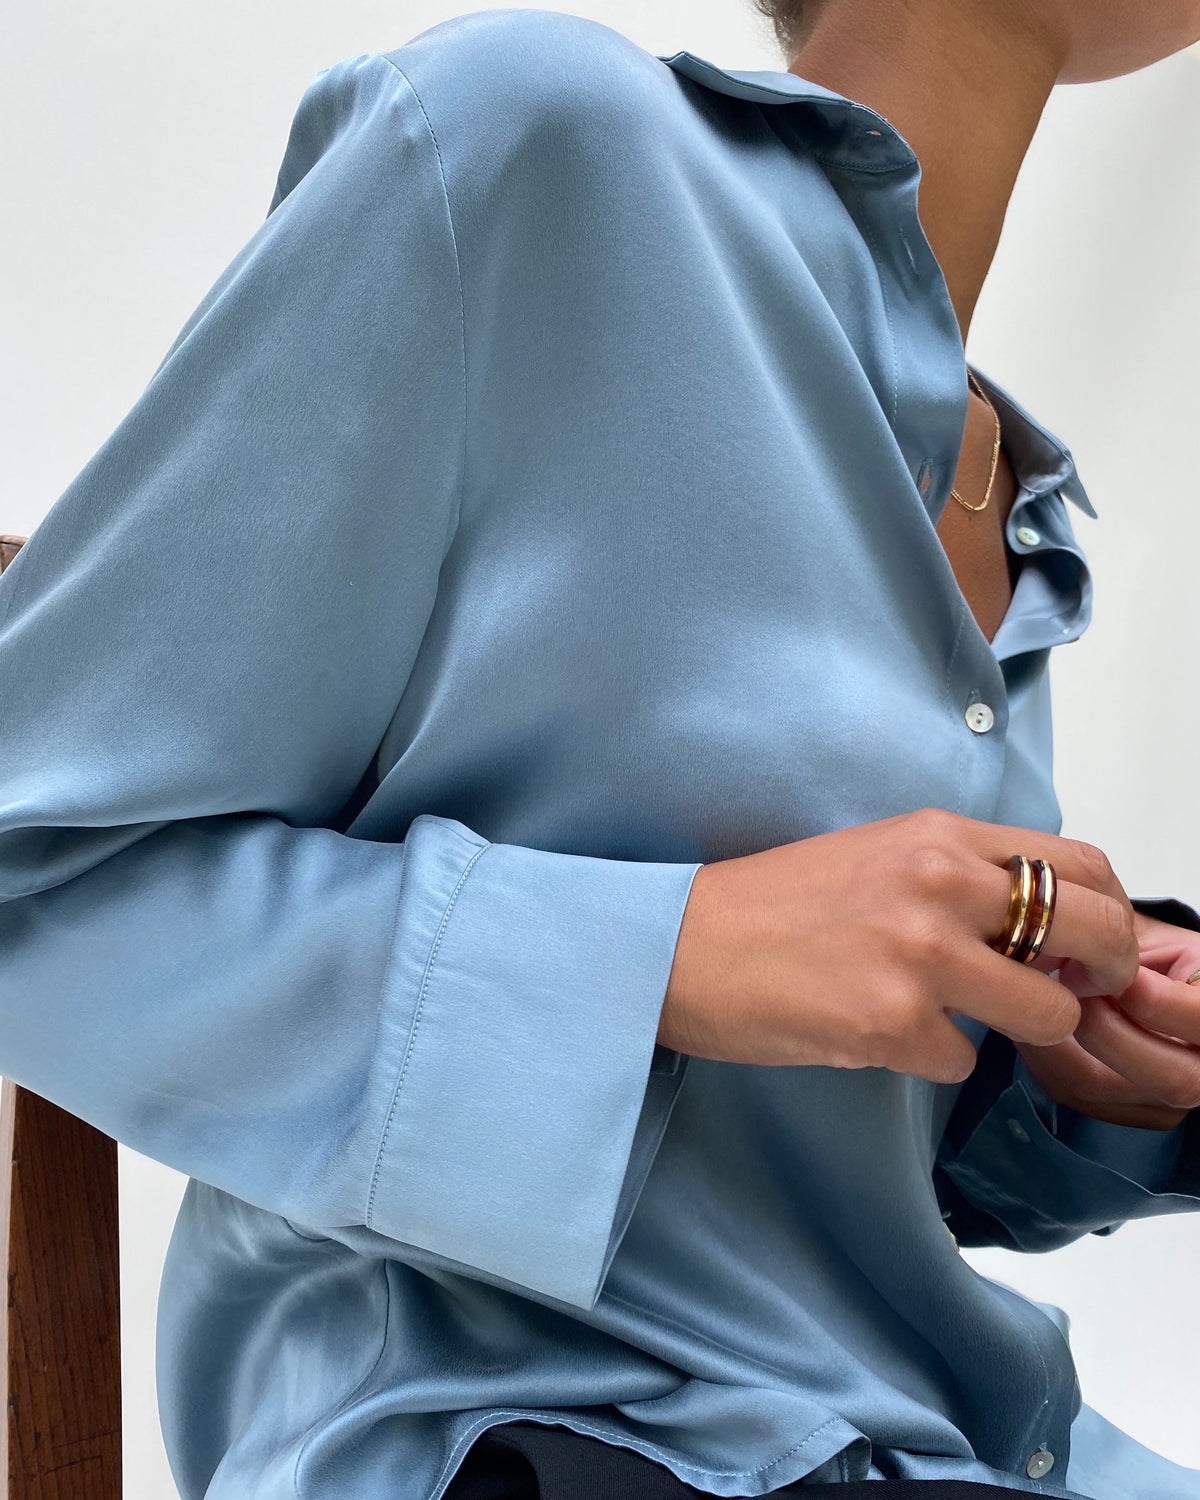
Use a plush tie to define a relaxed silhouette.

Master Partial, Side, and Front Tucks for Effortless Outfit Styling
Partial, side, and front tucks change proportion according to where you pinch the fabric and how deep the fold is. Pinch at the intended waist point: a small fold creates a subtle partial tuck, a deeper fold produces a more pronounced shape. Position the tuck so the fold sits just above or inside the waistband; this draws a vertical line or shortens the torso. Always check in a mirror from the side and back to ensure the fold lies flat and does not bulk. For pear shapes, favour a shallow front tuck or a narrow belt at the natural waist to lift the eye upwards. Apple shapes benefit from a side tuck or an underbust belt to break the midsection and create separation. Rectangles gain instant waist definition from a knot or cinching belt. Hourglass figures work best with minimal tucks and a belt placed at the narrowest point. Petites should choose a shallow front tuck with a high-waisted bottom to lengthen the leg line.
Match belt width to your proportions: choose a narrow belt for a smaller frame and a wider belt for a longer torso. Position the belt at the natural waist to define an hourglass line, or a little higher to visually lengthen the legs. Let fabric do the work. Structured shirts and medium-weight knits hold their shape, so tucks and knots read clean and crisp, while drapey, lightweight fabrics such as silk or fine linen create soft, effortless side tucks. Avoid bulky textures when you want a smooth waistline; heavy knits and thick weaves add volume and can obscure the silhouette. Consider pattern scale and seam placement, because they direct the eye: larger prints and horizontal seams draw attention to an area, while smaller prints and vertical lines minimise it. Hide excess bulk with a pointed front tuck by folding a small triangle of fabric and tucking it near the waistband, or secure fussy tucks with a discreet stitch, a pin, or non-slip tape. Finish with a light layer, such as an open jacket or a longline cardigan, and always sit, walk, and bend to ensure the styling remains flattering from every angle.
Mastering partial, side and front tucks
- Body-shape specific pairings: For pear shapes favour a shallow front tuck or a narrow belt at the natural waist to lift the eye; apples benefit from a side tuck or an underbust belt to break the midsection and create separation; rectangles gain instant waist curve from a knot or cinching belt; hourglass figures keep tucks minimal and position belts at the narrowest point; petites lengthen the leg line with a shallow front tuck paired with high-waisted bottoms.
- Fabric, garment and belt rules: Choose structured shirts or medium-weight knits for clean tucks, and drapey, lightweight fabrics for side tucks that sit neatly; steer clear of heavy weaves where you want a smooth waistline; match belt width to proportions, narrow for smaller frames, and wider for longer torsos, and position the belt at the natural waist or slightly higher to define or lengthen.
- Execution checklist and quick fixes: Pinch at the intended waist point and fold shallowly for a subtle partial tuck or more deeply for a pronounced shape, placing the fold just above or inside the waistband so it lies flat; fasten fiddly tucks with a tiny stitch, a pin, or a narrow strip of grip tape, then check from the side and back and walk, sit, and bend to confirm there is no bulk; layer with an open jacket or longline cardigan to disguise excess and maintain a clean silhouette.

Define your waist with sculpted knots and understated belts
A well placed knot or belt can redefine proportions by changing how the torso and leg line read. Position the knot above the natural waist to lengthen the leg line and visually shorten the torso; sit it at the natural waist to balance shoulders and hips; place it low on the hips to broaden the hip line. Annotated photos or simple diagrams make these shifts easiest to see. Simple tying techniques, such as a neat front knot, a secure side knot, or a soft knot tucked under a belt, create distinct silhouettes depending on how much fabric you draw and where you position the knot. Small fixes, like tucking excess fabric behind a belt or taking a couple of discreet tugs to tighten, keep the shape secure while revealing the visual effect in real outfits.
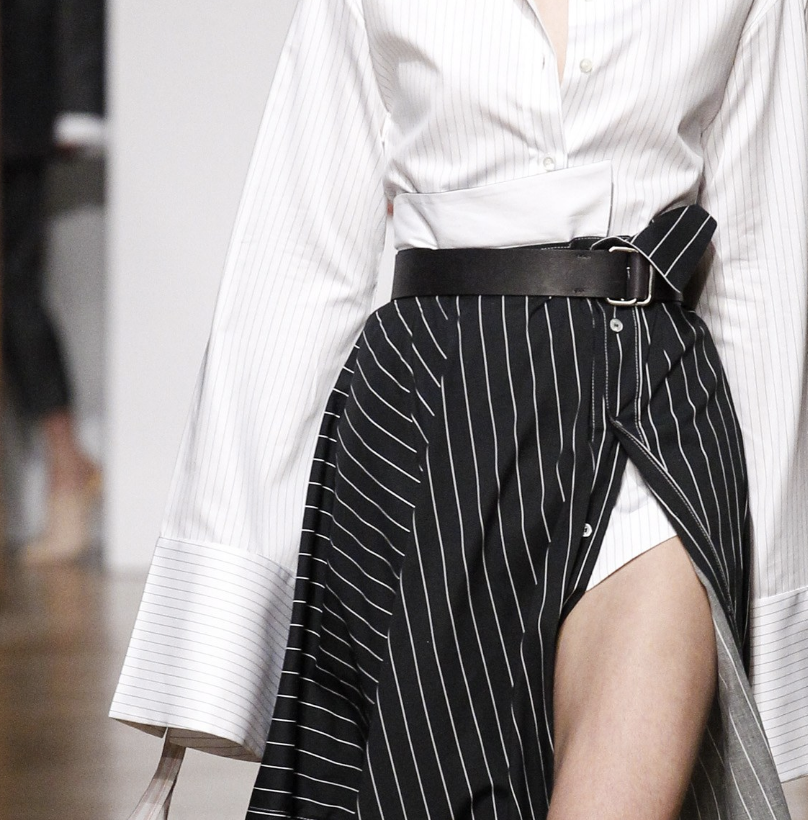
When tying a front knot, pull about 10 to 15 cm of fabric through to form a tidy loop. Anchor a side knot close to the hip and secure it with two small tugs, or tuck a soft knot neatly under a belt and smooth the tail to prevent slipping. Choose a belt for your shape: narrow, flexible belts avoid shortening a short torso and suit petite frames, medium widths define most waists without overpowering curves, and wide, structured belts create a strong waistline or add curves to straighter figures. Use simple styling tricks to shape the silhouette: a partial tuck adds vertical interest and apparent length, a side knot suggests a hip curve on rectangular shapes, diagonal tucks redirect attention from broad shoulders, and smooth fabric over a narrow belt minimises emphasis for apple shapes. Self-belts and wrap styles let you experiment with where to draw the eye.
Add a belt to sculpt the waist for evening.

Refine your look with proportion, layering, movement, and mindful care
Simple tucks can subtly alter perceived proportion. A full tuck smooths the torso and compresses a long top, a half-tuck reveals the waist to create shape, a side-tuck shifts vertical emphasis to one side, and leaving a top untucked preserves length and a relaxed line. Practical cues: fold at the seam for a neat full tuck, leave roughly a hand's breadth of fabric for a considered half-tuck, anchor a side-tuck at the hip, and smooth untucked hems so they fall straight. Belts further refine these effects: a narrow belt reads as a vertical, slimline detail, while a wide belt clearly defines the waist. Position a belt at the natural waist to accentuate curves, wear it higher to lengthen the legline, or lower over the hips to balance a longer torso.
Knot size, position, and fabric determine where the eye rests: small knots in soft fabrics drape and soften the silhouette, while larger, structured knots in firmer cloth hold shape and command attention. A centre knot reads as symmetrical, whereas an off-centre or side knot shifts focus toward the shoulder or hip. Layering and movement change how tucks, knots, and belts read; pair tucks with longline jackets to introduce verticality, use cropped layers to reveal a belted waist, or leave cardigans open to let a knot or tuck breathe. Tailor these combinations to pear, apple, hourglass, rectangle, and inverted triangle shapes to lengthen, define, or balance as required. Anchor styles discreetly with pins, fashion tape, or elasticised belts, test adjustments by sitting and walking, and keep knots neat by steaming them and avoiding overly stiff fabrics that gape.
Tucks, knots and belts allow you to sculpt pyjama silhouettes, defining the waist, suggesting curves, or lengthening the leg line. Map your proportions, then match fabric, tuck method, and belt placement to achieve consistent, repeatable results that translate reliably on camera.
Use the headings on mapping proportions, fabric and drape, tuck techniques, and knot and belt strategies as a checklist while you experiment with partial tucks, side knots, and different belt widths. Photograph each change, observe how the garment moves when you walk and sit, and secure the most successful variations with a discreet stitch, subtle tuck, or a gentle steam. These simple steps turn experimentation into dependable styling rules for your silhouette.
FAQ
What is the easiest way to find the best belt placement for my body?
Stand relaxed and locate the high waist where the ribcage meets the torso and the natural waist at the narrowest point; test belts at the natural waist to emphasise curves, slightly above it to lengthen the legs, or low on the hips to elongate the torso.
How do I choose knot style and size for different pyjama fabrics?
Use small, rounded or flat half-knots with soft, drapey fabrics such as viscose, silk, or lightweight jersey because they sit low and neat, and choose larger, flatter or intentionally chunky knots and pleats for stiffer fabrics like cotton poplin, linen, or thicker sateen to avoid awkward bulk.
How should I tuck a loose top so my pyjamas flatter my shape?
Try a shallow front tuck with high-waisted bottoms to lengthen the leg line on petites, a French or half tuck to suggest a waist without bulk on rectangles and apples, a side tuck to add curve to straight hips, and a full tuck with soft blousing to reinforce an hourglass silhouette.
Can belts and knots really change how my proportions look?
Yes; placing a knot or belt above the natural waist shortens the torso and lengthens the legs, sitting it at the natural waist balances shoulders and hips, and a low placement broadens the hip line, while narrow belts suit smaller frames and wider belts add definition to fuller midsections.
When trying tucks or knots how can I be sure the look works in real life?
Photograph the outfit from three angles against a plain background, walk, sit, and bend to check stability, secure fussy tucks with discreet stitches, pins, or fashion tape, and finish by steaming knots and smoothing layers to keep lines clean.

Leave a comment
This site is protected by hCaptcha and the hCaptcha Privacy Policy and Terms of Service apply.