

10 Cuts and Silhouettes to Flatter Pear, Apple, Hourglass, and Rectangular Figures
Silk trousers that sag at the hips, gape at the waist, or overwhelm your silhouette are all too familiar. This guide explains which cuts and silhouettes best flatter pear, apple, hourglass, and rectangular figures, and offers practical cues to recognise a better fit and avoid common pitfalls.
Learn how to measure for a truly tailored fit, choose silk weaves that drape, and select waistlines, rises and leg cuts that balance your proportions. The guide explains hem, length and break for a clean finish, offers practical tailoring cues and construction pointers, and outlines styling strategies for colour, pattern and layering. Small adjustments, such as altering the rise or tapering the leg, can reshape the silhouette and extend the life of your trousers.

1. Recognise pear, apple, hourglass, and rectangular body silhouettes
Take four measurements: shoulders, bust, waist, and hips, and compare their proportions. If your hips are noticeably wider than your bust and shoulders, you are likely pear-shaped. If your midsection is fuller while hips and legs remain slimmer, you are likely apple-shaped. When bust and hips measure similarly with a defined indentation at the waist, you are likely hourglass. If shoulders, bust, and hips sit at similar widths, you are likely rectangular. Confirm your observations with a mirror and with front and side photographs taken in form-fitting clothes to check shoulder-to-hip differences and any forward projection at the midsection.
Use garment fit as observational evidence. If trousers or a skirt feel tighter than the top, that suggests a pear tendency; if tops pull around the stomach, that suggests an apple tendency. Put on a fitted base layer, move, bend, and sit, and note where the fabric pulls or gathers: concentrated pulling at the hips and thighs indicates pear tendencies, at the midriff indicates apple, balanced pulling at top and bottom indicates an hourglass, and an even distribution suggests a rectangular shape. Treat shapes as a spectrum; test several garments, because muscle tone, weight changes, and posture alter proportions, and many people combine characteristics.

2. Take precise measurements for a tailored fit
Begin with a simple, repeatable routine. Wear close-fitting clothes or underwear, stand relaxed, and keep the tape measure parallel to the floor. Take these measurements: bust, high bust, underbust, natural waist, high hip, fullest hip, shoulder width, arm length, torso length, waist to floor, inseam, and rise. Repeat each measurement twice, record the average, and keep the results on a single measurement card to track consistency over time. Re-measure after any significant body change, take measurements at the same time of day, note how stretch and non-stretch fabrics alter the fit, and take straightforward front and side photographs in fitted clothes to confirm how proportions read visually.
Translate your measurements into simple ratios to clarify shape and fit. As a rule of thumb, a waist about 10 centimetres or more smaller than the hip usually denotes a defined waistline. Shoulders noticeably narrower than the hips suggest a pear tendency, while a waist similar to the bust and hips points to a straighter silhouette. Use these relationships to guide silhouette choices: short torsos favour higher waistlines, cropped bodices, or raised waist seams to prevent fabric from bunching, and long torsos benefit from lower waist positions and a longer rise to restore balance. When shopping or fitting garments, lay a trusted piece flat and measure key points in the same way you would on your body. Measure shoulder seam to natural shoulder, apex to apex across the bust, and garment waist to your natural waist. Compare garment and body numbers to see where the fabric will sit and how much ease remains. Small differences point to targeted alterations; larger gaps generally indicate the need for a different size. Measuring this way gives you a clearer, more confident sense of fit.

3. Choose silk weaves that flatter the body and drape beautifully
Different silk weaves alter how a garment sits and sculpts the body. Charmeuse and satin offer a smooth, high-sheen face that skims the figure and accentuates curves. Crepe de chine has a fine, textured matte surface that scatters light and softens contours, while georgette and chiffon float with a delicate drape, giving movement without cling. Heavier weaves such as dupioni and silk twill introduce structure to balance fuller hips. Sheen, pattern scale, and colour placement become visual tools: high shine draws the eye, smaller prints reduce perceived volume, and lighter tones above the waist with darker shades on the hips can rebalance pear and apple silhouettes. When trying pieces, assess how a pattern falls across your body rather than judging it flat on a hanger.
Cut and construction change a garment’s appearance more than the fibre itself. A bias cut silk follows the body’s lines, creating fluid curves that add shape to rectangular silhouettes. Vertical seams, princess lines, and waist darts define the waist for hourglass figures and minimise cling around the midriff for apple shapes. Match fabric weight and lining to the areas you want to balance: choose mid-weight crêpe de Chine or a lined satin to skim the hips on pear shapes, opt for heavier twill or fully lined pieces to smooth the torso for apple shapes, and favour lightweight, unlined silk on hourglass figures to celebrate natural curves. Always try garments on over underwear or a slip to check transparency and cling, sit to see where silk creases or sticks, and drape a swatch over your hip to feel how it falls. Look for bias-cut panels, internal shaping such as linings and waist stays, and finishes that reduce static, since small tailoring choices often matter more than the weave.

4. Choose waistlines and rises that flatter your silhouette
Rise measures the distance from the crotch seam to the top of the waistband. Where the waistband sits, whether below, at, or above the navel, changes the perceived length of the torso and the start of the leg line, so take note when you try garments on. A higher waistband tends to elongate the legs and skim the hips, while a lower band can visually shorten the torso or broaden the silhouette. As a starting point, pear shapes often favour mid to high rises that sit at or just above the navel to balance the hips. Apple shapes typically benefit from higher rises or empire-style cuts that smooth the midriff and create an upper waist. Hourglass figures suit rises that align with the natural waist to showcase curves, and rectangular shapes gain definition from belted, peplum, or otherwise shaped waistlines. Details make a difference: structured waistbands, internal shaping panels, darts, peplums, and well-placed belts draw the eye to the narrowest point. Conversely, dropped waists or low, straight bands can flatten or widen the silhouette depending on where they sit.
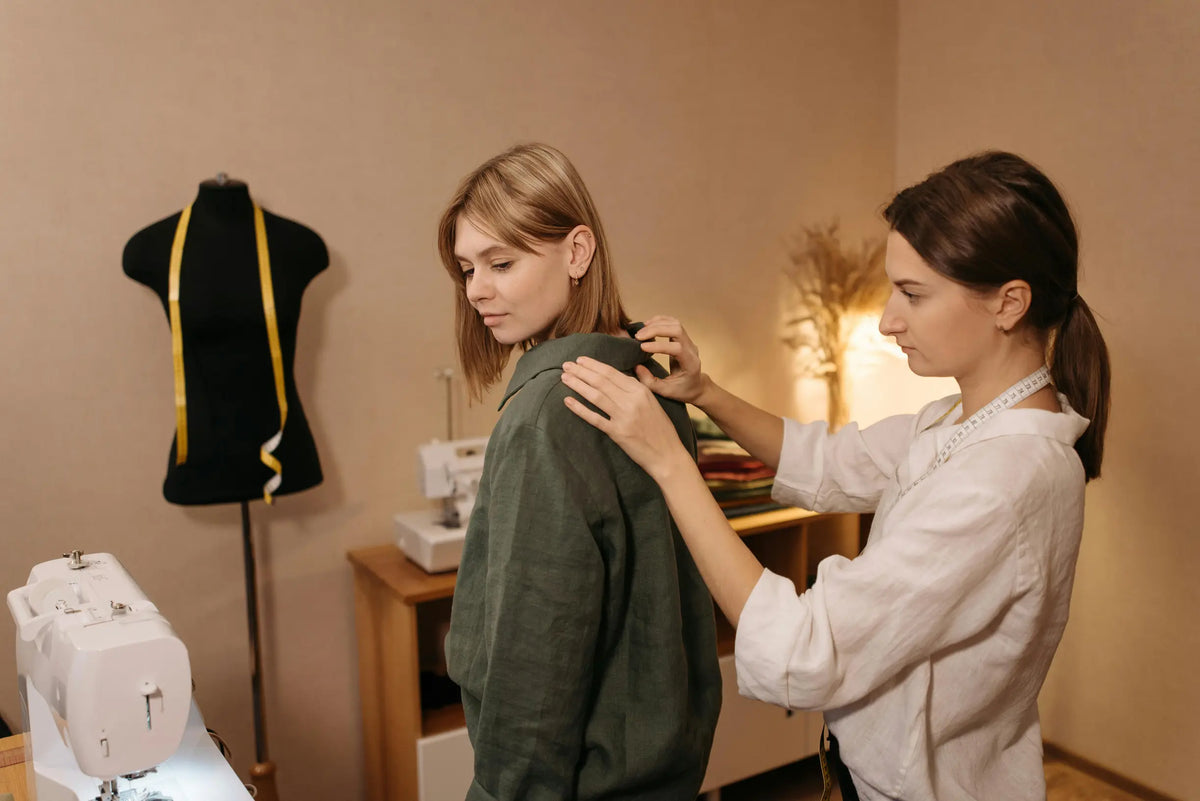
When trying on a garment, raise your arms and walk to check whether the waistband digs in, gaps, or rides up. Photograph the outfit to judge proportion, and ask a tailor to adjust the waistband by a small amount to see how a change in rise alters the garment’s balance. Fabric and waistband construction influence the silhouette: a firm, shaped waistband maintains definition; a soft or elasticated band smooths but can add bulk; and internal panels or darts refine the line. Belt width also affects perception — narrow belts focus attention on a single point, while wider belts strengthen the waistline and shift the perceived hip-to-waist ratio.

5. Choose leg cuts to enhance your natural silhouette
Select the leg opening that creates visual balance. Wider hems, such as bootcut or wide-leg, direct attention downward and help balance fuller hips on pear shapes. Tapered or cigarette cuts skim the hip and emphasise a defined waist on hourglass figures. For apple and rectangular silhouettes, straight or gently tapered legs establish a clean vertical line without adding bulk. Try on several openings and note how each alters the visual flow from hip to ankle. Use rise to set proportions deliberately: a higher rise defines or creates a waist and visually lengthens the leg for apple and hourglass shapes, while a mid-rise sits at the natural waist for most pear shapes. Sit and walk to note where the waistband lands and assess both comfort and the proportional effect.
Control perceived length with careful hem placement. Finish at the slimmest part of the lower leg, typically the lower calf, or just above the ankle to create a lengthening effect; allow a full-length break over the shoe to balance a longer torso. Test different lengths by pinning trousers or rolling a hem to observe how each finish alters perceived height and proportion. Choose fabrics and construction that support the intended cut. Structured weaves and centre creases preserve an elongating line, while soft, drapey fabrics add volume in wide-leg silhouettes. Clingy knits will show whether a piece truly skims or instead gathers against the body when you move. Refine the silhouette with small details: vertical seams, centre creases, and elongated front pockets all lengthen the leg, whereas pleats, side panels, or a slightly wider thigh introduce shape for more rectangular figures. View garments from the side and back to judge how these elements work together.

6. Achieving the perfect trouser length, break, and hem
Trousers typically present three breaks: no break for cropped or ankle styles that finish above the shoe, a slight break that forms a clean crease where the hem meets the shoe, and a full break where the fabric folds gently over the toe. To choose the right finish, put on the shoes you intend to wear, stand and walk to see where the crease forms, then pin the hem on the inside leg so your tailor can reproduce the exact fold. Light, fluid fabrics puddle and create a softer, fuller break, while structured, medium-weight wools and denim hold a crisper fold. Move as you would in real life: sit, walk, and stand to observe how the fabric behaves before committing to a hem.
Use shape-specific length rules to preserve proportion. For pear shapes, choose a hemline that skims the shoe to maintain an unbroken leg line and avoid interrupting the transition from hip to leg. For apple shapes, opt for ankle-revealing hems or minimal breaks to create a narrower focal point below the midsection. Hourglass figures suit a slight break to balance hip and shoe, while rectangular shapes can add visual weight with a wider hem or a longer, full break to suggest curves. Hem width and taper also change perception: a narrow, tapered hem lengthens the leg, whereas a wider or flared opening increases perceived volume. Match the trouser silhouette to the shoe to continue the line, or deliberately contrast it to achieve balance. Take a simple tailoring checklist into the dressing room: wear the shoes you will commonly use, pin the hem while standing and walking, ask the tailor to preserve the original hem allowance and leave a reversible finish, and test the final length by sitting and walking to check for riding up or awkward creasing.

7. Optimise construction and tailoring for improved drape and fit
Cut woven garments on the straight grain so the centre front and centre back hang true. Cut on the bias, at roughly 45 degrees to the grain, when you want a fluid, body-skimming drape. A skirt or dress that tilts or whose hem rides up typically signals an off-grain cut or a stretched seamline; a tailor can often correct this by realigning panels or resetting seams. Use interfacings, underlinings, and canvas selectively to control silhouette and roll. Insert a fused or sewn canvas in jacket fronts and collars to create a neat roll, and apply light shoulder pads or stay tape to stabilise soft shoulders. Underlining dress panels gives lightweight fabrics body without stiffness — these internal supports change how fabric falls far more than surface trims do.
To alter the garment's outline, reposition seams or introduce shaping lines such as deeper darts or princess seams. Shifting the side seam forward or back can also help balance how a garment sits on the body. Manage linings and hem finishes to smooth movement and prevent tenting. A full lining reduces drag, allowing coats and dresses to glide over the hips, while a partial lining preserves ease where movement is needed. For lightweight hems, narrow catch-stitching or a discreet hem weight keeps the edge straight. On heavier pieces, trim seam bulk at intersections so the garment sits without unnecessary volume. Ease sleeveheads correctly, and grade seam allowances to prevent lumps and to retain full lift in the arm. Press seams at the appropriate temperature with proper support, pin and test adjustments on the body before stitching, and rely on precise tailoring to produce clean lines that let the garment follow the form.

8. Use colour and pattern to create balanced visual proportions
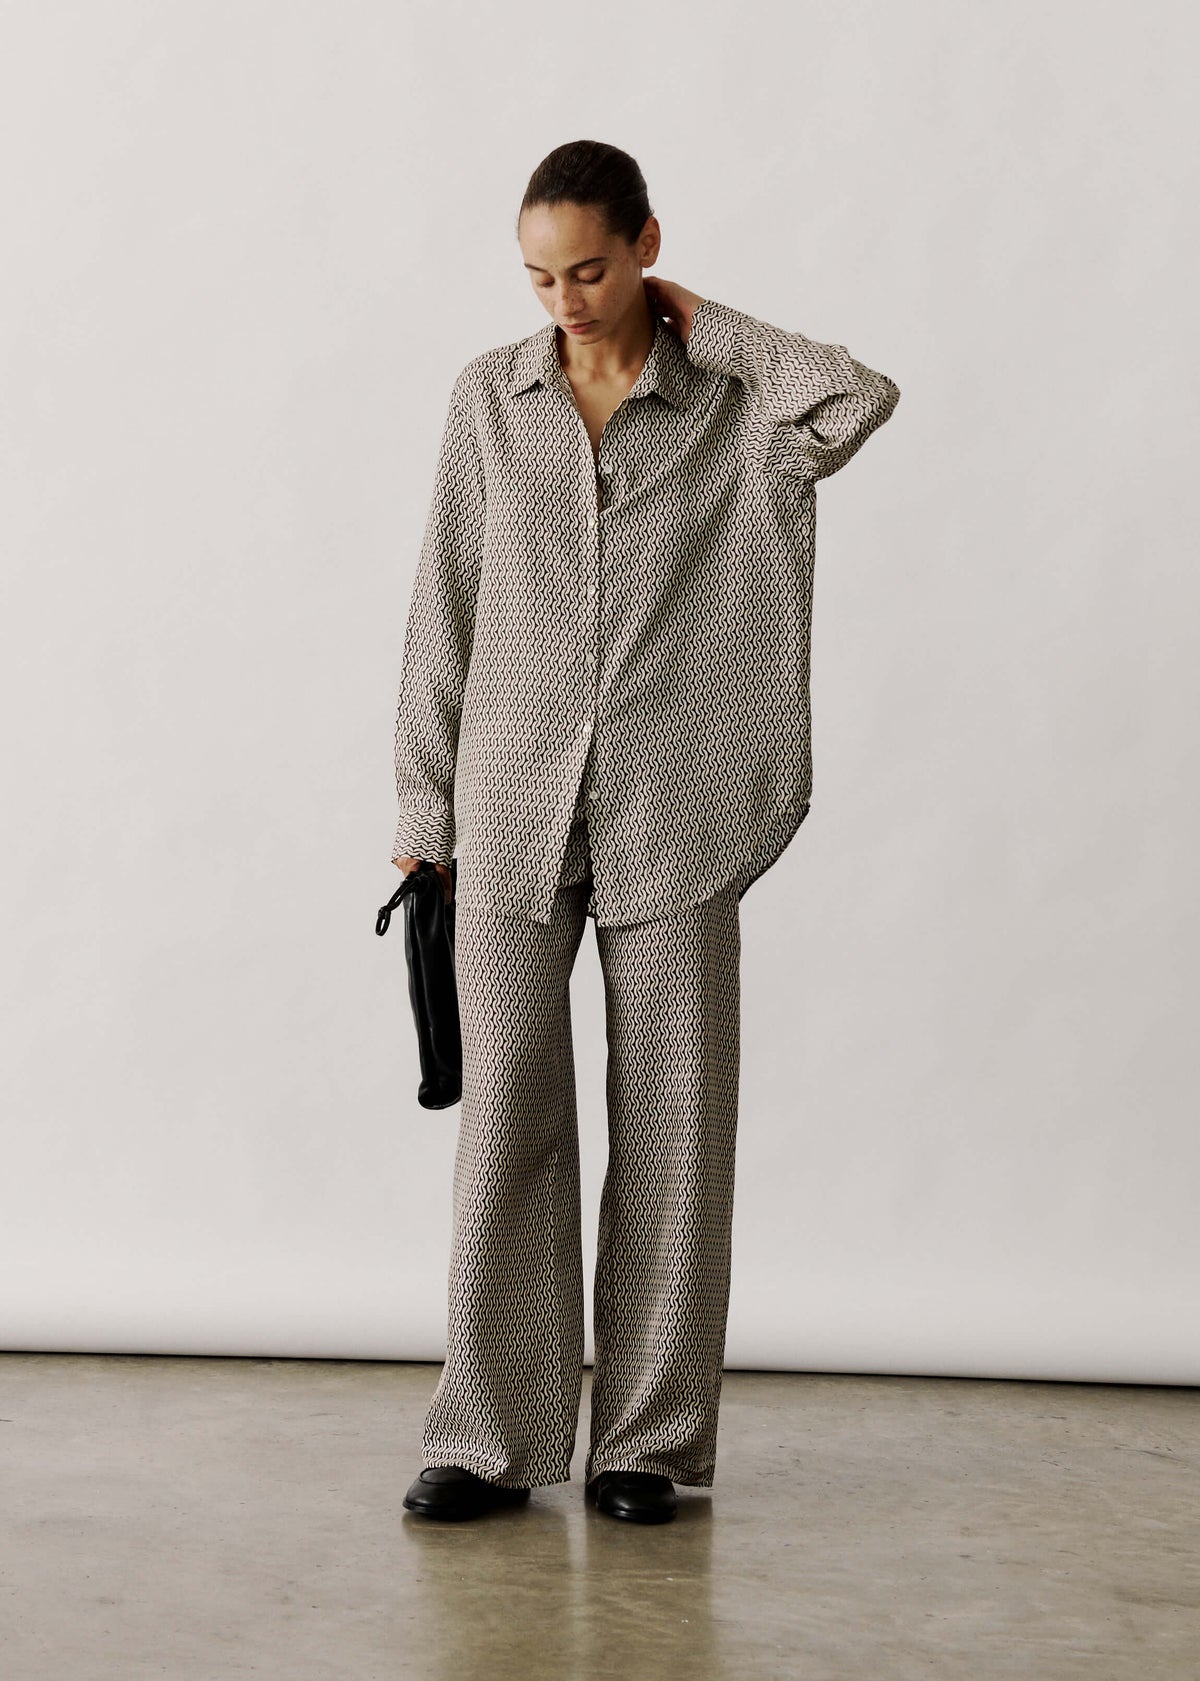
Bright colours and lively patterns attract the eye, so place them where you want attention. For pear shapes, a bold top lifts visual weight from the hips; for apple shapes, patterned skirts or trousers divert focus from the midsection. Match pattern scale to body scale: choose small, dense ditsy prints for sleeves or narrow panels to add interest without bulk, and opt for larger, bolder geometric motifs on skirts to give the lower half more presence. Consider the direction of lines: vertical stripes elongate, horizontal bands add width, and diagonal or chevron motifs channel the eye towards the centre to suggest a waist. Apply these principles practically — for example, introduce vertical motifs on rectangular figures to add height, and use diagonal details on hourglass shapes to accentuate the waist.
Colour blocking and contrast act as simple sculpting tools. Darker side panels recede, creating long vertical lines that visually slim the silhouette, while a contrasting waistband or centre panel suggests an hourglass. Position contrast at the natural waist to define the torso, or slightly above the hip to lengthen the legs; a single-colour outfit creates an unbroken, elongating line. Introduce a single contrasting break — for example, a mid-tone belt on an hourglass figure or a bright shoe on an apple shape — to stop the line and redirect attention where it helps most.

9. Layer and style trousers with complementary shoes and outerwear
Where the trouser hem sits in relation to the shoe opening determines perceived leg length. Full-length trousers that cover most of the shoe tend to make the leg appear shorter, while cropped hems that reveal the ankle create a lengthening effect. A close tonal or monochromatic pairing between trousers and shoes produces an uninterrupted vertical line that visually elongates the silhouette. By contrast, a high-contrast break at the ankle draws the eye and shortens the proportions. Footwear details further refine the effect: a pointed toe extends the foot, an ankle strap introduces a visual break, and modest differences in heel height change how long a hem appears without altering the garment.
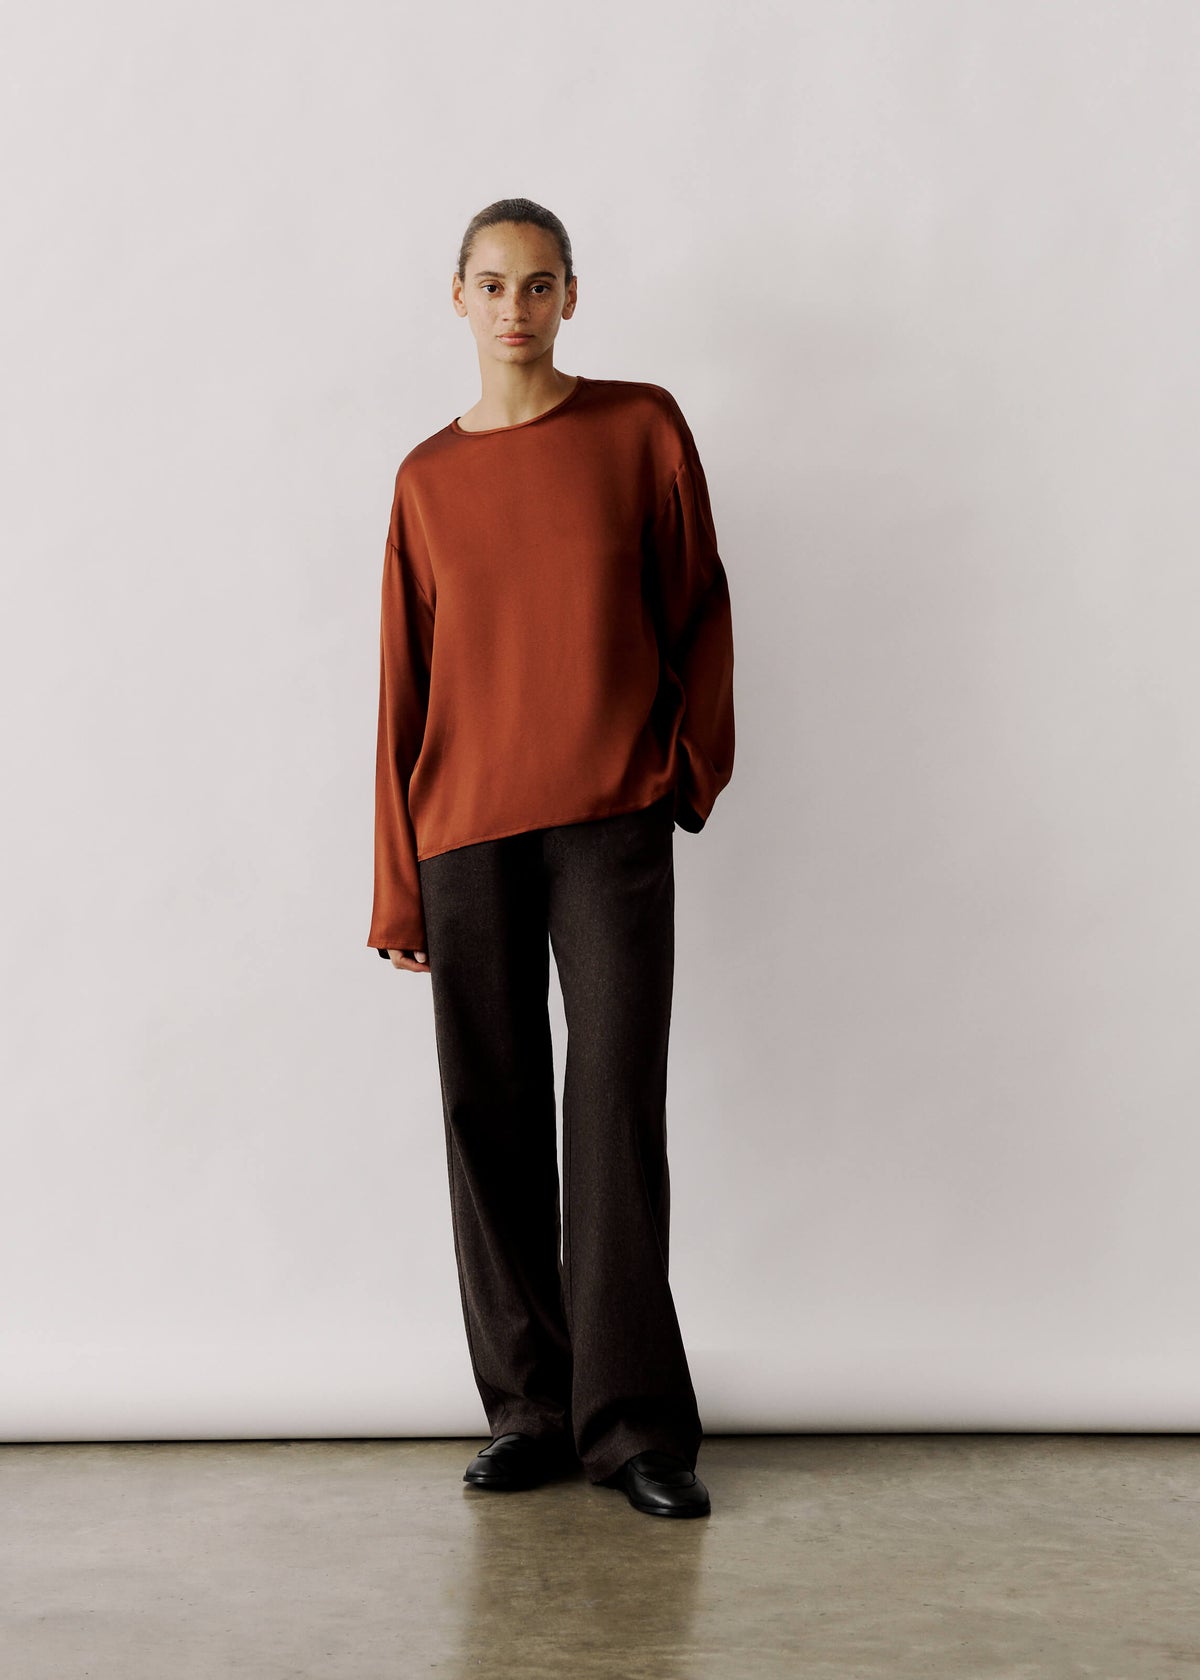
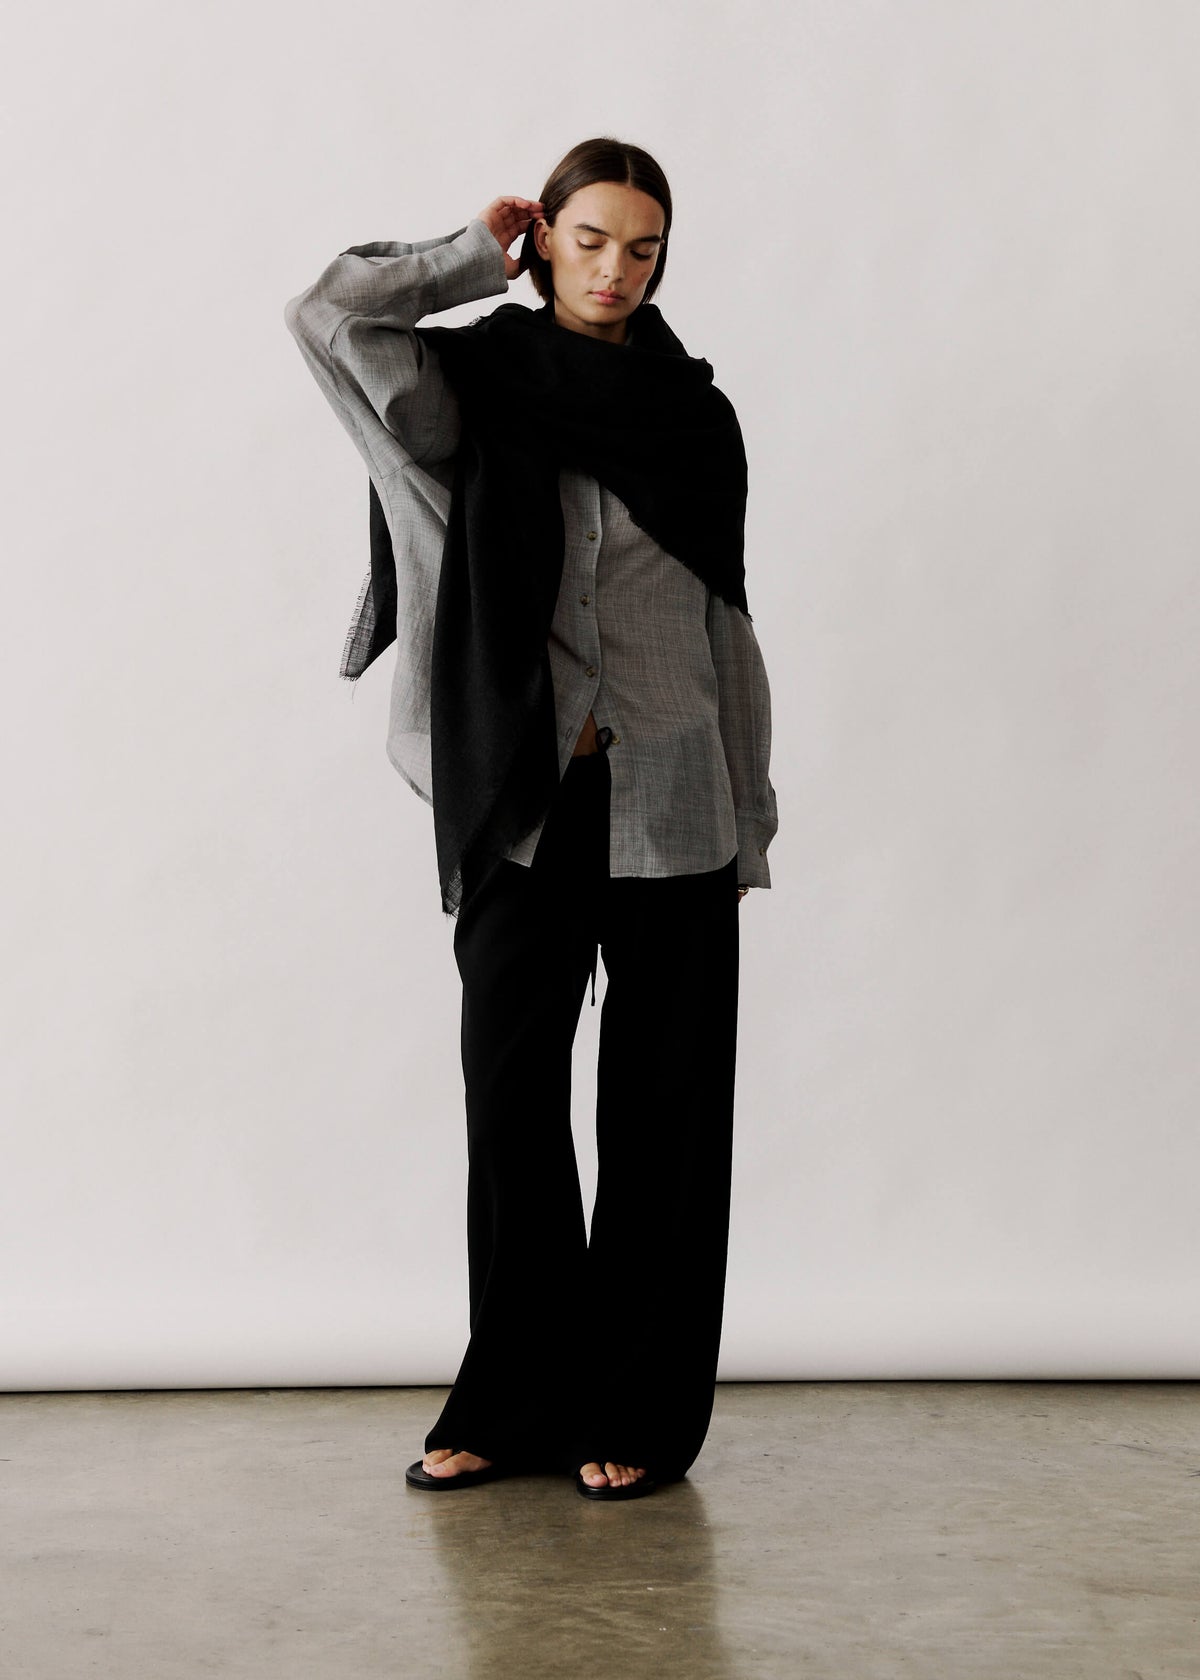
Select trouser silhouettes to balance different body shapes. For pear shapes (hips fuller than shoulders), opt for a boot-cut or a subtle flare to ease emphasis at the hip and create a longer line below it. Rectangular frames gain structure from straight or slightly tapered legs, which create a more defined line. To preserve hourglass proportions, choose wide-leg, high-rise trousers and pair them with a fitted top or a cropped jacket to keep the waist visible. Layer outerwear by length and weight to shape proportions: a long, streamlined coat that falls close to the trousers continues the vertical line and slims, while a cropped jacket highlights the waist and rebalances a heavier lower half. Avoid overwhelming trousers with excess volume, and use shoe proportions deliberately: chunky soles or ankle boots ground wide legs, while slim heels or pointed toes refine tapered styles. Combined, these choices let you lengthen, shorten, or rebalance a silhouette without changing the cut of the trousers.

10. Alter, care for, and prolong the life of silk trousers
When commissioning alterations, ask your tailor to preserve generous seam allowances and to add a lightweight lining or stay tape at the waistband and inner thigh. Keep hems long so trousers can be shortened later without exposing raw edges. Choose lightweight zips and buttons over heavy hardware to reduce stress on the silk, and always test any cleaning method on an inconspicuous seam first. For everyday care, blot fresh stains immediately, use a pH-neutral detergent for cold handwashing, and treat oily marks with cornflour to absorb grease rather than scrubbing or using bleach. Silk is a protein fibre that weakens with harsh chemicals and heat, so gentle handling will prolong the garment’s life and reduce the need for replacement.
Reshape the trousers and lay them flat on a clean towel to dry away from direct sunlight. Never tumble dry. Remove creases with low heat, turning the garment inside out and using a cotton press cloth, or steam from a distance; avoid combining heat, moisture, and friction, which can damage delicate fibres. Alternate silk trousers with other bottoms to reduce continuous wear. Store them folded with acid-free tissue or in breathable cotton bags, and avoid plastic, which can trap moisture. Hang only on a wide, padded hanger, or clip by a fabric-lined waistband to prevent marks. Protect against moths with natural deterrents such as cedar blocks or dried lavender. Mend small tears promptly using fine silk or polyester thread and small, even stitches; reinforce high-stress points with an internal patch or extra stitching, and resew loose buttons or belt loops before they cause greater damage.
This guide explains how precise measurement, considered silk weaves, and deliberate cuts, combined with targeted tailoring and thoughtful styling, balance proportions and improve how trousers sit. Details of fit and tailoring reveal that subtle adjustments, such as raising the rise to sit at the natural waist, adding a lining to enhance drape and reduce friction, or tapering the leg for a cleaner line, can alter proportions and prolong a garment's life.
When trying on pieces or briefing a tailor, return to the sections on measuring, waistlines and rises, leg cuts, construction, and care to address the specific issues you noticed. Make a single, measured adjustment, then test it by walking and sitting. You will leave the fitting room with trousers that flatter, feel comfortable, and stand the test of time.

Leave a comment
This site is protected by hCaptcha and the hCaptcha Privacy Policy and Terms of Service apply.